Brand Building
Defining Your Fragrance Brand Photography Style
Dieser Artikel ist noch nicht auf Deutsch verfügbar. Sie lesen die englische Version.

Photography is the primary way B2B buyers and end consumers evaluate fragrance products they cannot smell through a screen. A retailer scrolling through a wholesale marketplace or trade show catalog makes split-second judgments based on image quality, styling, and mood. Your photography style is not decoration. It is a commercial asset that directly influences order volume, perceived value, and brand recall.
This guide helps fragrance brand owners define, document, and execute a photography style that works across line sheets, e-commerce, social media, and retail sell-through materials.
Why a Defined Style Matters for B2B
When a buyer evaluates your brand, they are assessing whether your products will look compelling on their shelves and in their own marketing. Consistent, professional photography signals operational maturity. Inconsistent or amateur imagery raises doubts about whether you can deliver a reliable product at scale.
A defined style also reduces costs over time. When your photographer, graphic designer, and marketing team all work from the same visual brief, you eliminate reshoots, reduce revision cycles, and maintain coherence as your product range grows.
Step 1: Define Your Visual Direction
Before booking a photographer, establish the creative parameters.
Actionable steps:
- Collect reference images. Gather 20 to 30 photographs from magazines, competitor brands, Pinterest, and Instagram that capture the mood you want. Do not limit references to fragrance. Include interior design, food styling, fashion, and nature photography.
- Identify recurring elements. Look at your reference collection and note patterns: lighting (hard vs. soft), color temperature (warm vs. cool), backgrounds (textured vs. clean), composition (minimal vs. layered), and props (botanical, architectural, lifestyle).
- Write a style statement. Summarize your direction in two to three sentences. Example: “Soft natural light, warm neutral palette, minimal props drawn from raw materials (wood, stone, dried botanicals). Images should feel calm, intentional, and tactile.”
- Align with brand identity. Confirm that your photography direction complements your logo, color palette, and packaging design. A luxury brand with gold foil packaging needs different imagery than a rustic brand with kraft labels.
Timeline: 1 to 2 weeks.
Budget: If you hire a creative director or brand consultant for this phase: $500 to $2,000.
Step 2: Plan Your Shot List
A structured shot list ensures you capture everything needed across channels without expensive reshoots.
Actionable steps:
- Product-only shots (white or neutral background). One per SKU. Front-facing, well-lit, showing label clearly. Used for line sheets, e-commerce listings, and wholesale catalogs.
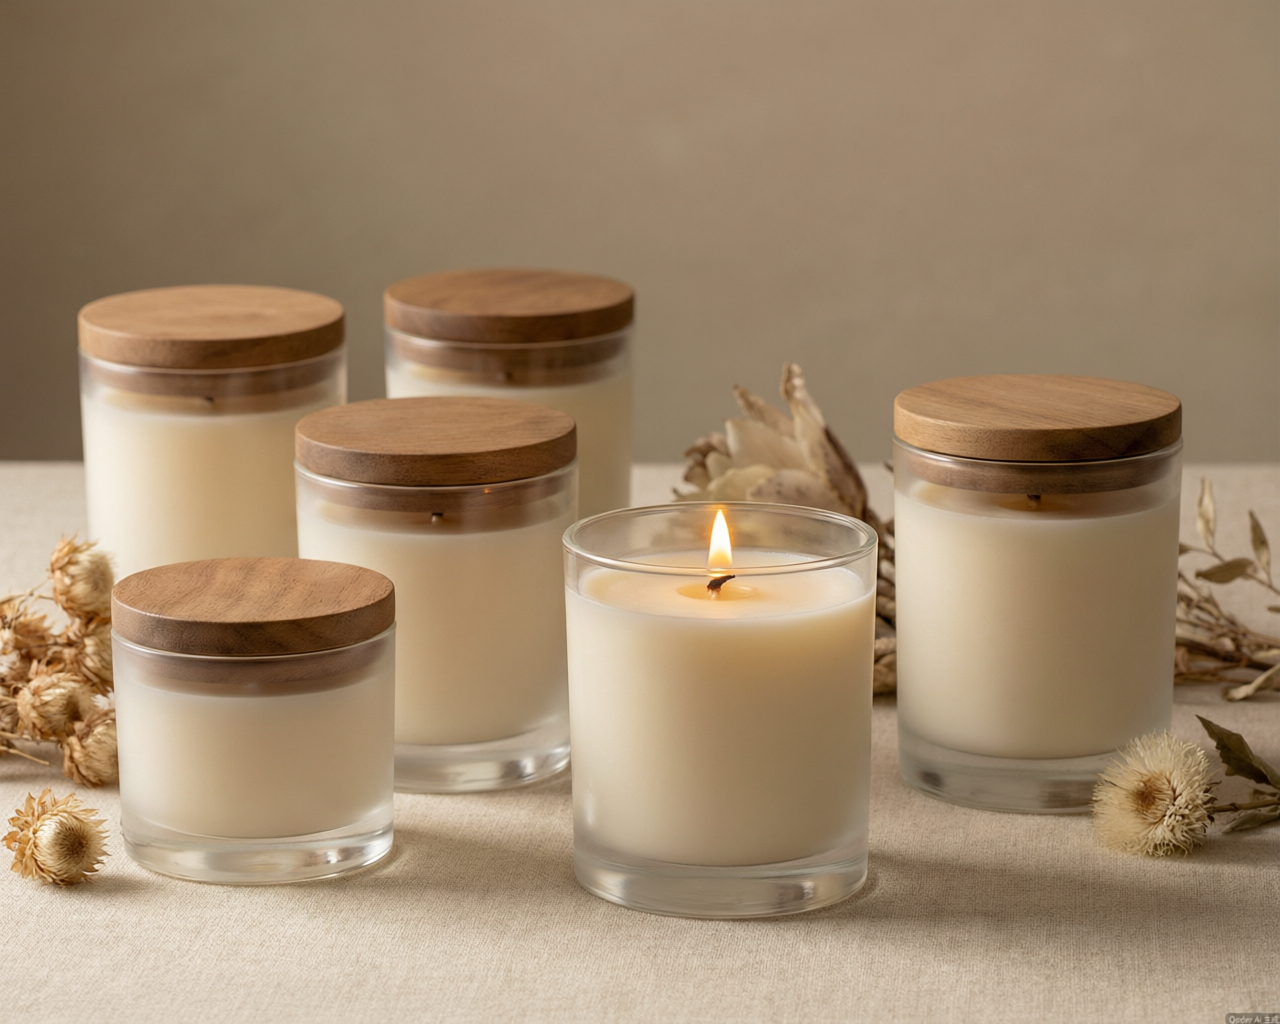
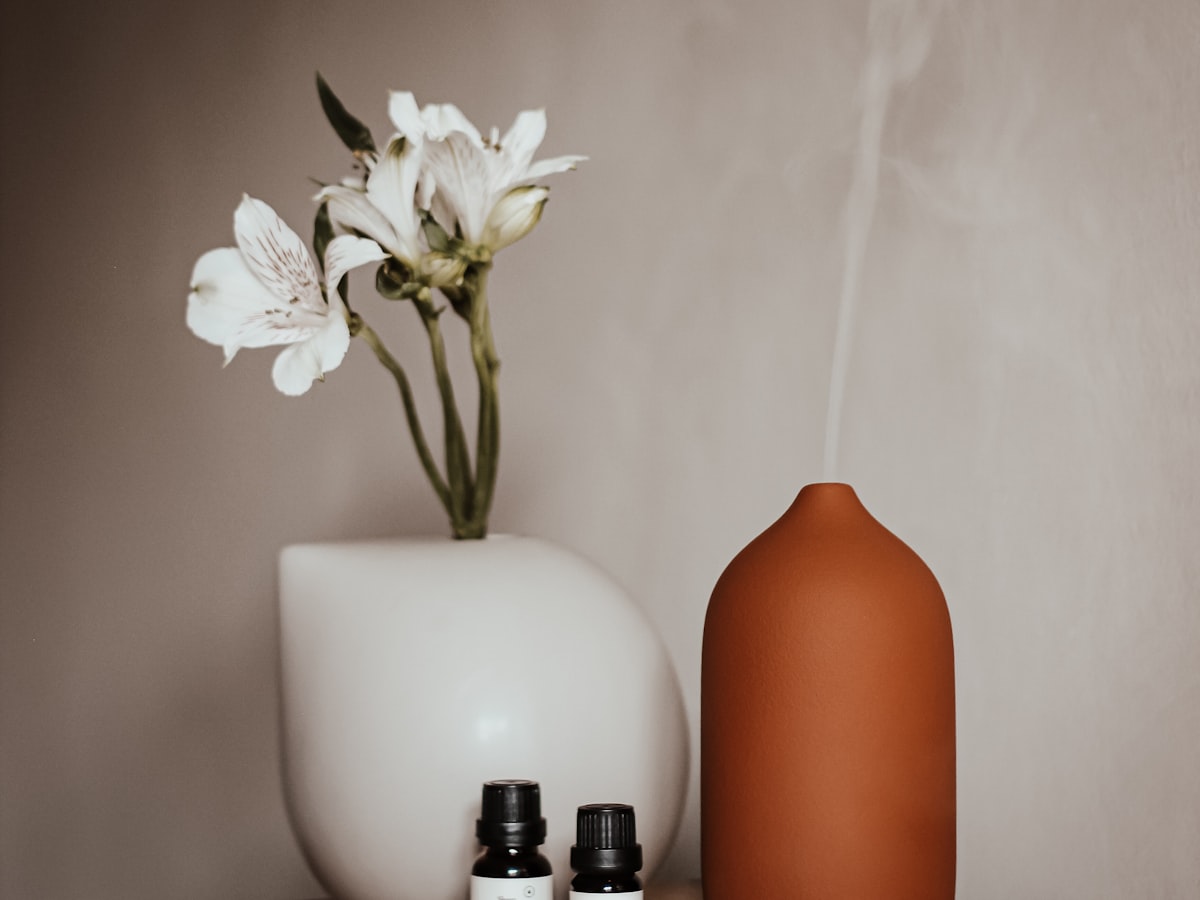
- Styled product shots. Products in context with props that reinforce brand story. Candles on a marble surface with dried lavender. Diffusers on a wooden shelf with books. Used for website hero images, social media, and lookbooks.
- Lifestyle imagery. Products in use or in environment. A candle lit on a bathtub edge. A reed diffuser on a hotel reception desk. Used for brand storytelling, press kits, and advertising.
- Detail and texture shots. Close-ups of wax texture, glass quality, label finish, packaging interior. Used for B2B materials where buyers assess build quality remotely.
- Group and collection shots. Full range displayed together. Used for trade show banners, catalog covers, and seasonal campaign visuals.
Timeline: 1 week to develop the shot list. Plan for 3 to 5 products per shooting day for styled and lifestyle work, or 15 to 20 products per day for simple product-only shots.
Step 3: Choose Your Production Approach
Actionable steps:
- Professional photographer (recommended for hero content). Hire a product photographer experienced in glass, liquid, and reflective surfaces. Fragrance products are technically challenging to shoot: glass creates glare, liquids show dust, and labels must be perfectly aligned.
- In-house setup (for ongoing e-commerce and social content). Invest in a lightbox, a consistent backdrop, and a quality camera or smartphone with a good lens. Use this for new SKU launches between professional shoots.
- Hybrid model. Professional shoot twice per year for hero assets. In-house shooting monthly for social media and new product additions.
Timeline: Photographer sourcing and booking: 2 to 3 weeks. Shoot day: 1 to 2 days. Post-production and retouching: 1 to 2 weeks.
Budget:
| Item | Estimated Cost |
|---|---|
| Professional photographer (full day) | $800 to $2,500 |
| Studio rental (if not included) | $200 to $600 |
| Props and styling materials | $100 to $400 |
| Retouching per image | $15 to $50 |
| In-house lightbox and backdrop kit | $150 to $500 |
| Annual photography budget (hybrid model) | $3,000 to $8,000 |
Step 4: Create a Photography Style Guide
Document your standards so every image, regardless of who shoots it, looks like it belongs to the same brand.
Actionable steps:
- Specify lighting direction and quality. Example: “Soft key light from upper left, fill from right. No harsh shadows.”
- Define background standards. Example: “Warm white seamless for product shots. Natural wood or linen for styled shots.”
- List approved and prohibited props. Example: “Approved: dried botanicals, raw stone, neutral textiles. Prohibited: plastic items, bright colors, branded objects from other companies.”
- Set composition rules. Example: “Product occupies 60 to 70 percent of frame. Negative space on left for text overlay.”
- Define post-production standards. Example: “Warm white balance, slight highlight recovery, no heavy filters. Consistent crop ratios: 1:1 for social, 4:5 for e-commerce, 16:9 for web banners.”
- Include 5 to 10 reference images that exemplify the standard.
Timeline: 1 week to compile after your first professional shoot.
Step 5: Deploy Across Channels
Photography only creates value when deployed consistently.
Actionable steps:
- Organize assets in a shared digital library with clear naming conventions: SKU number, shot type, orientation, date.
- Provide B2B buyers with a downloadable image pack for each product they stock. Include high-resolution product shots and lifestyle images they can use in their own marketing.
- Maintain a 30-day social media content buffer using styled and lifestyle shots.
- Update your line sheet and website imagery every six months or with each collection launch.
- Refresh hero images annually to prevent visual fatigue, even if products remain the same.
Timeline: Ongoing. Plan 2 to 4 hours per month for content scheduling and asset management.
Common Mistakes
- Shooting products in inconsistent lighting, making the same candle look different across your website and line sheet.
- Over-styling images so heavily that the product becomes secondary.
- Using smartphone photos for B2B materials where buyers assess quality.
- Failing to provide retailers with usable image assets, forcing them to photograph your products poorly themselves.
Final Thoughts
Your photography style is the visual voice of your brand. It speaks before your product ever reaches a buyer’s hands. Define it deliberately, document it clearly, and invest in professional execution for the images that matter most. For fragrance brands competing in wholesale and retail channels, consistent visual excellence is one of the highest-return investments you can make. It costs less than a single trade show booth and works for you every day of the year.